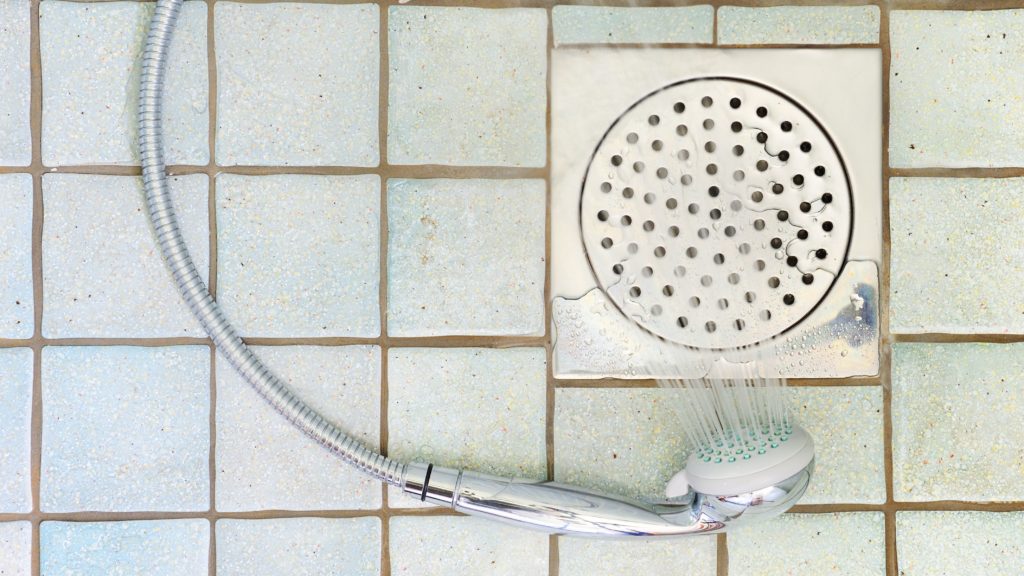
Is your shower drain leaking? If the answer is yes keep reading to find out how you can fix your shower drain.
 How do I Know if my Shower Drain is Leaking?

To confirm that your leak is coming from the shower drain and not from another source such as a broken or damaged seal between your floorboards and bathtub, use a funnel and to pour a small bit of water directly down the shower drain. If you do not find any obvious signs of leaking, then you should fill the bathtub and look out for leaks. By performing these tests, you should be able to identify the source of the leak.
Why is my Shower Drain Leaking?
There are many reasons why a shower drain could be leaking, but here’s what we know for sure:
If there is water in the bottom of your tub or shower and it keeps dripping down into the floor then that means something has gone wrong with your plumbing system. The most common reason for this problem is because one of the pipes inside your home has been damaged by corrosion from rusting metal parts.
There are a number of risks associated with your shower drain leaking
- It can be a potent breeding ground for mold and potentially cause allergies and even respiratory diseases.
- Rotten ceiling beams.
- Ceiling leak.
- Discoloration on the ceiling below.
- Damp ceiling and insulation.
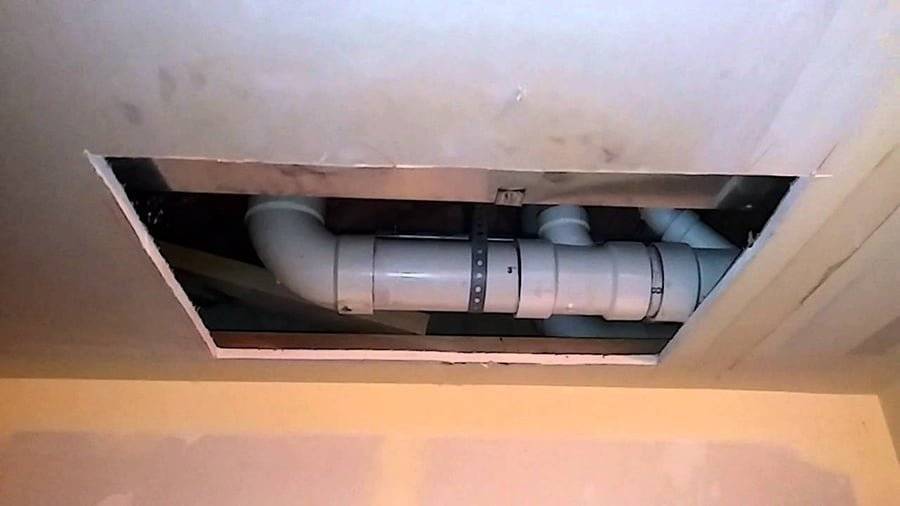
How do I Make An Access Panel To The Drain?

One way to avoid making a lot of mess and potentially avoiding having to redecorate is to go to your bathroom and locate where the pipes lead to the shower. Most commonly, they are found under the flooring or over the ceiling of the room beneath the bathroom. Before you begin cutting or dismantling anything, first drop your old cloth under the flooring or ceiling to catch any water and leaks that may occur during the process. Then carefully remove the panel using your drywall saw in order to create an access panel into the plumbing system. Depending on the design and layout of your home, you may need to go through a closet, attic or basement to gain access to the plumbing system.
Now assuming you have made an access panel or have some other form of access to your drain pipe, read the following steps and you will be ready to say goodbye to your shower leaks.
What is the #1 Way to Stop a Shower Drain Leaking?
For the #1 way to stop a shower drain leaking, you’re going to need a few things, nearly all of which can be purchased at your local DIY or plumbing supply store. Get the following:
- Drywall saw
- Plumbers Putty
- Number 2 Phillips screwdriver
- Flathead screwdriver
- Groove pliers
- Hacksaw
- New gasket – check what size of gasket you need first
- Cleaning brush
- Old cloth
Remove the Drain Cover
To begin, remove the metal cover from the drain. On some drains, you might find that you can simply flip the cover off with your flat head screwdriver. On other drains, you may need to remove the screws. If this is the case, store the screws in a safe location so that you can put them back on later.
Remove the Compression Gasket
Use the pliers to remove the compression gasket. Clip the pliers one on either side of the gasket, turn it counterclockwise until it comes loose, then pinch the gasket on the other side with the pliers, and pull it out of drain.
You can remove the large compression nut from the drain with the groove pliers.
Remove the Shower Drain Body
This is the fun part. Use the hacksaw to cut through the body of the drain with two vertical cuts. Now cut off the drain flange with your hacksaw. Cut the two vertical cuts about an inch apart.
 When cutting the drain flange there’s two parts you must be careful not to cut through:
- The shower pad
- Pipe riser.
Pry the one-inch piece out of the drain carefully by using your flat head screwdriver. You’ll then be able to pull out the rest of the shower drain body out.
Remove any putty from the outside surface of the shower drain body using a flat head screwdriver or even your bare hands.
Clean Drain Rim
Once you’ve removed your shower drain body, you’ll have exposed the rim of your pan. Don’t be alarmed, even in the most sparkling clean showers, this rim is going to be dirty. Thoroughly clean the rim before continuing. A really good way of doing this is using another old cloth with a bit of white vinegar to clean it.
Clean the drain opening with your cleaning brush, or an old toothbrush. This removes any debris that could inhibit the installation of the new gasket.
Install New Compression Gasket
Slide the new gasket into place. Make sure that it sits on the center of the rim of the drain body. Use your fingers to spread the outer surface of the strainer body with plumber’s putty. Make sure that there is plenty of putty under the rim of the drain.
Screw Your New Shower Drain Body In and Seal It
Start by screwing in the new shower drain body (the part that goes inside the old shower) into the opening. Turn the new shower drain body clockwise until it tightens into place. Now tightly seal it up with plumber’s putty, using your bare hands again – quite fun this is, isn’t it?
Remove Excess Putty
Use a putty knife, or a flathead screwdriver to remove any excess putty from around the drain. You can clean it up with an old cloth. Let the shower unit dry overnight before you start using it again.
How Much Will it Cost to Repair a Leaking Shower Drain?
If you’re looking for ways to save money when repairing a leaky shower drain, here are three things you should know:
- It costs less than $100 to repair a leaky shower drain.
- Repairing a leaky shower drain typically takes between 30 minutes and 2 hours.
- A professional contractor charges anywhere from $150-$400 per hour.
- So if you want to do it yourself, expect to pay around $50-$75.
If however you have none of the tools needed readily at hand, the price of buying all of those and the new shower components may outweigh the cost of a professional plumber, at which point you should consider contacting a pro.
